Fortinet: configuring SSL VPN with Active Directory authentication and MFA
A guide to configuring the FortiGate SSL VPN with Active Directory authentication, FortiClient, Web Mode and MFA via FortiToken.
Last updated on
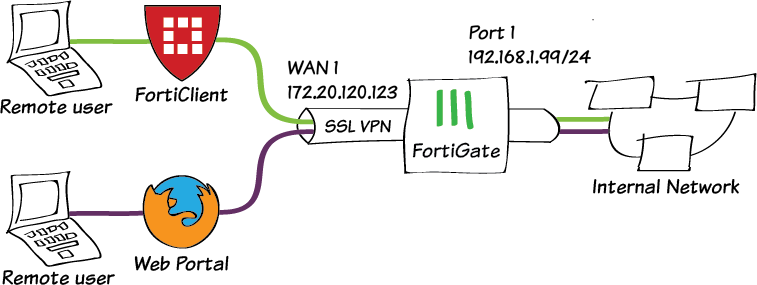
In a world where the corporate perimeter has become extremely broader than in the past, it remains essential to protect the connections to our infrastructure, whether on-premises or in Azure. The FortiGate SSL VPN, in this scenario, plays a fundamental role, as it allows you to build a scalable solution for users to access corporate resources securely.
As often happens, everything starts from identity, therefore in this guide the management and protection of identity during the VPN access process will play an important role.
Authentication with username and password, however, in the modern scenario, is no longer sufficient, and therefore it is always necessary to enable MFA for VPN connections. The FortiGate firewall allows MFA with proprietary software tokens (FortiToken), whose implementation will be covered in this guide, but, even more importantly with the Entra ID world, by being able to leverage Conditional Access policies to take the security level of access to the next level.
Figure 1: FortiGate SSL VPN authentication using FortiClient and the SSL VPN Web Portal
Requirements
To perform the proposed configuration you will need the following:
-
FortiGate firewall: the proposed configuration is possible on any FortiGate firewall with software release 6.2 and later. (it may also be possible on earlier systems; this guide uses 7.2.x)
-
LDAP server configuration performed on the FortiGate (ICT Power guide to perform the configuration: https://www.ictpower.it/sicurezza/fortinet-configurazione-ldaps-server-integrato-in-active-directory.htm)
-
Active Directory domain: a single Windows Server 2012r2 or later domain controller is sufficient.
-
Enterprise Certification Authority: a single Windows Server 2012r2 or later machine is sufficient.
-
Windows 10 / Windows 11 client with the FortiClient software installed.
SSL VPN configuration
Once you have logged in to the FortiGate, in the top-left section of the screen, select the “Root” VDOM to start the configuration. Of course, this is only the case if you have the VDOM feature enabled; if it is not active you can skip this step:
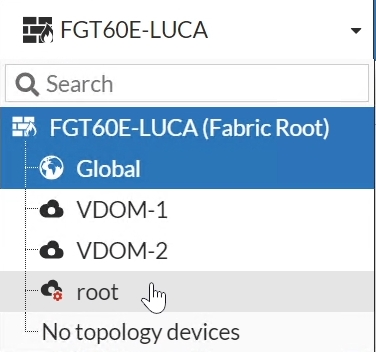
Figure 2: Selecting the Root VDOM
Then move to the left-hand column and click “VPN”, then “SSL-VPN Settings”:
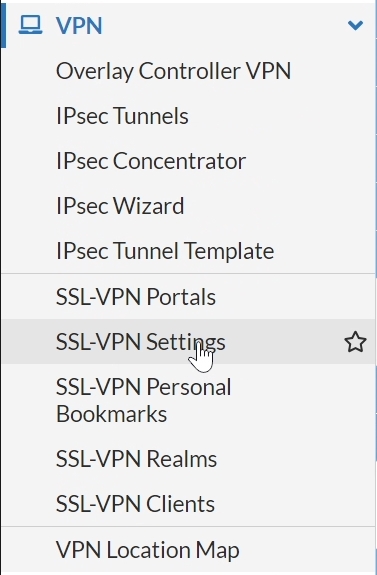
Figure 3: Selecting “SSL-VPN Settings”
In the central section that appears on screen, click “Enable SSL-VPN”:

Figure 4: Enabling the SSL VPN using the toggle
At this point you can add the “WAN” type interfaces that we want to use for the SSL VPN:

Figure 5: Adding all the necessary “WAN” type interfaces
In this case I added the two main “WAN” interfaces present on the FortiGate:
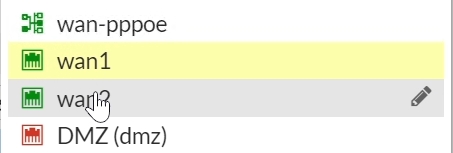
Figure 6: Selecting the “WAN” interfaces in the FortiGate
Then configure the custom port dedicated to the “SSL VPN”:
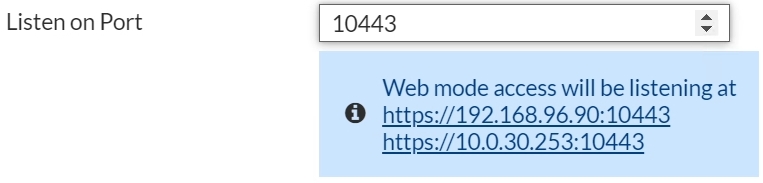
Figure 7: Adding a custom port for SSL VPN access
In the lower section you will find a “Server Certificate” selector dedicated to adding a certificate for the VPN. For this guide the default certificate present within the FortiGate will be used, but it is worth remembering that in production scenarios it is always necessary to use a certificate generated by our internal CA or a public one.
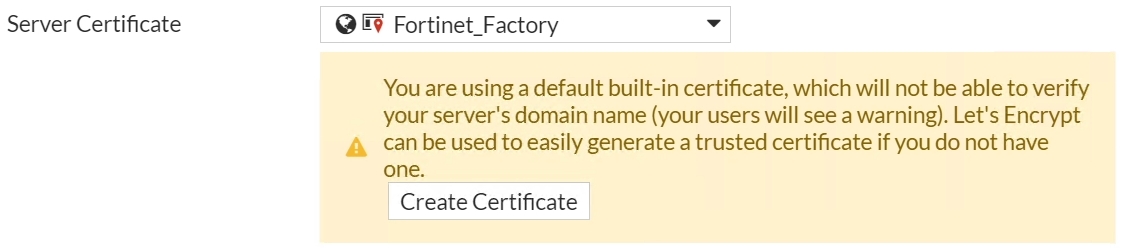
Figure 8: Selector for the certificate dedicated to the SSL VPN
At the bottom you can find a global setting “Limit access to specific hosts” that allows you to govern access to the SSL VPN only from certain IPs or geographic areas, for example. It is always good to consider restrictions of this kind, since often there is no need for the VPN to be made available all over the world:

Figure 9: Using the “Restrict Access” feature you can select from which geographic area you can connect
In this guide a geographic-type “Address” was used, which allows VPN access to be limited only to Italian public IPs:
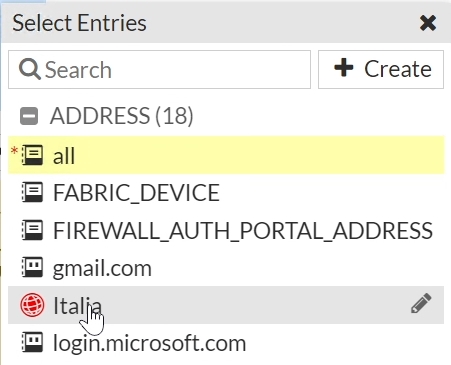
Figure 10: Selecting the Italy Firewall Object to restrict access to the SSL VPN
The final result is the following:
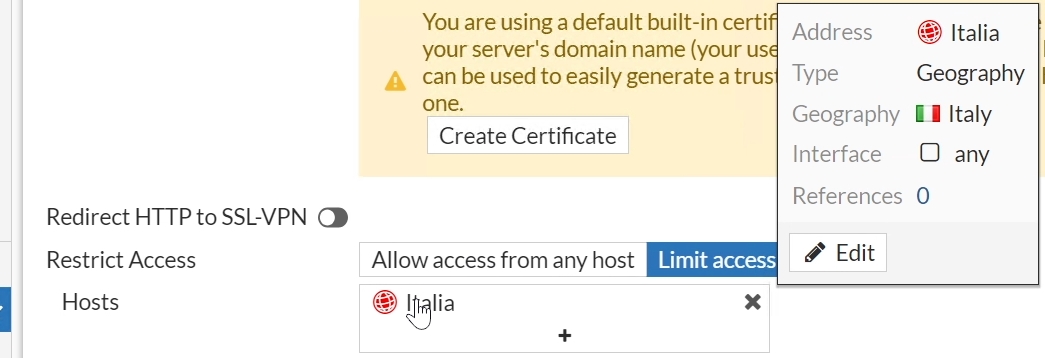
Figure 11: Final result obtainable after configuring limited access for the SSL VPN
Next you can find the “Idle Logout” parameter, which “drops” the VPN session when not used for the specified number of seconds:

Figure 12: “Idle Logout” setting of the SSL VPN
In the “Tunnel Mode Client Settings” tab you can specify the range of IP addresses and the DNS server that the client will receive during the VPN connection. For this guide the default values were left:
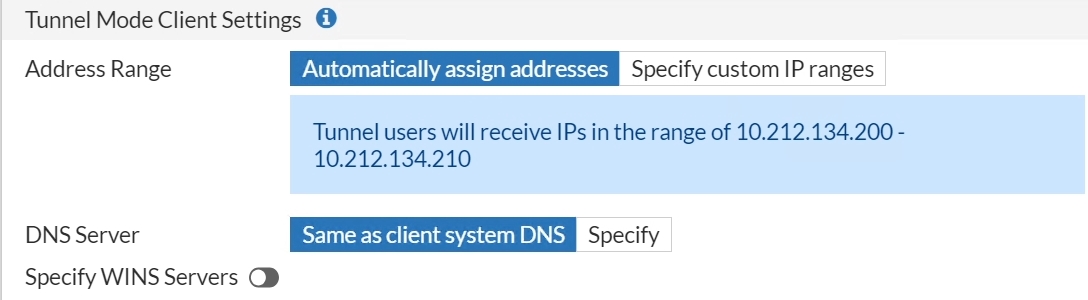
Figure 13: Leaving the default values for the assignment of IPs and DNS of the SSL VPN
In “Authentication Portal Mapping”, both FortiClient and Web mode were assigned as the way to use the SSL VPN.
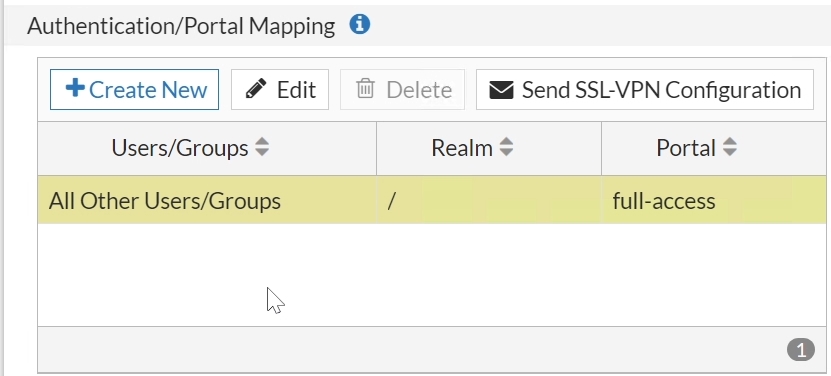
Figure 14: Assigning “Full Access” rights to all SSL VPN users
In the screen below you can see in detail what happens by double-clicking with the left mouse button on “Full-access”, being able to choose, for each FortiGate group or user, which type of SSL VPN to assign:
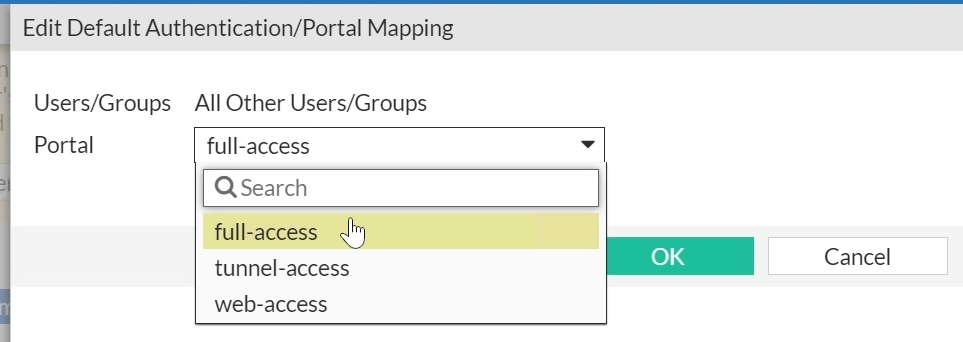
Figure 15: Detail on the assignment of the SSL VPN type
At this point you can click “Apply” to confirm the settings:

Figure 16: Click “Apply” to confirm the changes just made
Once the SSL VPN configuration part is finished, you can create the first policy that will allow access to the pool of Active Directory users. In the left-hand column click “Firewall Policy”:
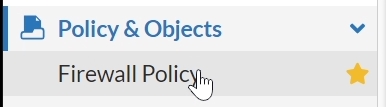
Figure 17: Click “Firewall Policy”
Now you will be able to see in the central pane, at the top, the “Create New” button:

Figure 18: Creating a new Firewall Policy from the graphical interface
Configure the policy as in the screen below, using your own configuration parameters:
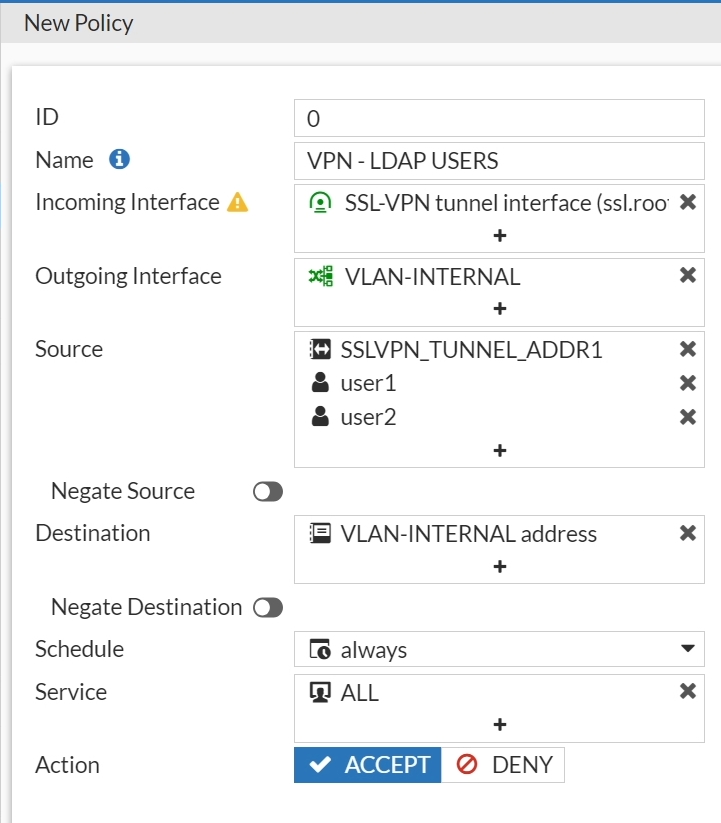
Figure 19: Detail of the policy required to configure the SSL VPN
As you can see, you need to enter in the “Source” field the pool of IP addresses dedicated to the clients that access the VPN, with the addition of the two LDAP users that were imported into the FortiGate during the previous guide on configuring the LDAPS server within the FortiGate (https://www.ictpower.it/sicurezza/fortinet-configurazione-ldaps-server-integrato-in-active-directory.htm).
As “Destination” you can set an entire Subnet or a single Server within the network.
In the “Service” field you can specify which protocols to allow during the VPN connection:
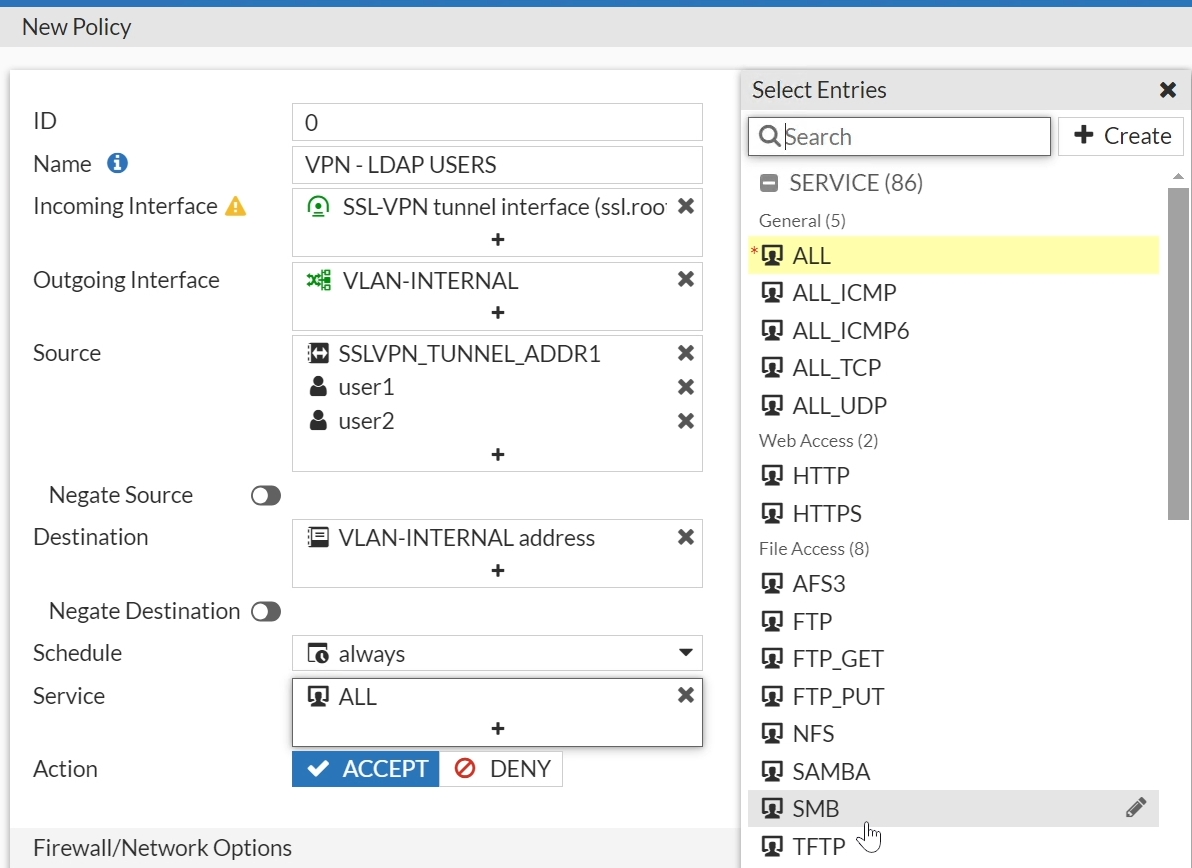
Figure 20: Adding a protocol within the policy dedicated to the SSL VPN
Let’s disable “NAT” as shown in the figure below:
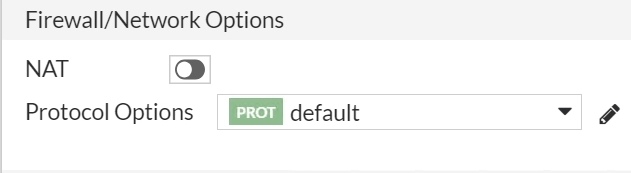
Figure 21: Disabling “NAT” in the SSL VPN policy
We choose to keep track of all VPN traffic within the “Logging Options”:
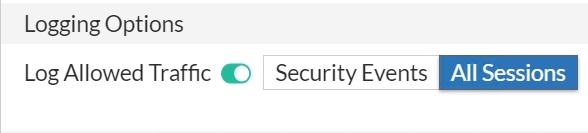
Figure 22: Enabling logging of all VPN traffic passing through this specific policy
If enabled, we fill in the “Workflow Management” field as shown in the picture below, assigning a comment for our change. These settings serve to prevent whoever configures the firewall from making changes without the proper justifications:
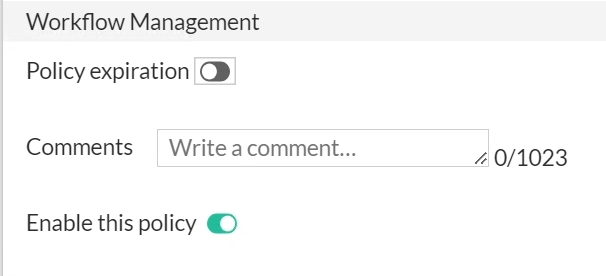
Figure 23: Configuring “Workflow Management”
Now you can click “OK” to confirm what you have done:

Figure 24: Click “OK” to save the policy settings
Finally you can see the result of the policy you have just configured:

Figure 25: Result of the policy dedicated to the SSL VPN
FortiClient VPN access
The first way to use the FortiGate SSL VPN is represented by an agent called FortiClient, which allows you to authenticate and establish the remote connection. Before you can use it, you need to download FortiClient directly from the manufacturer’s website using the following link: https://www.fortinet.com/support/product-downloads
Once on the site you can scroll down until you find the VPN-only agent:
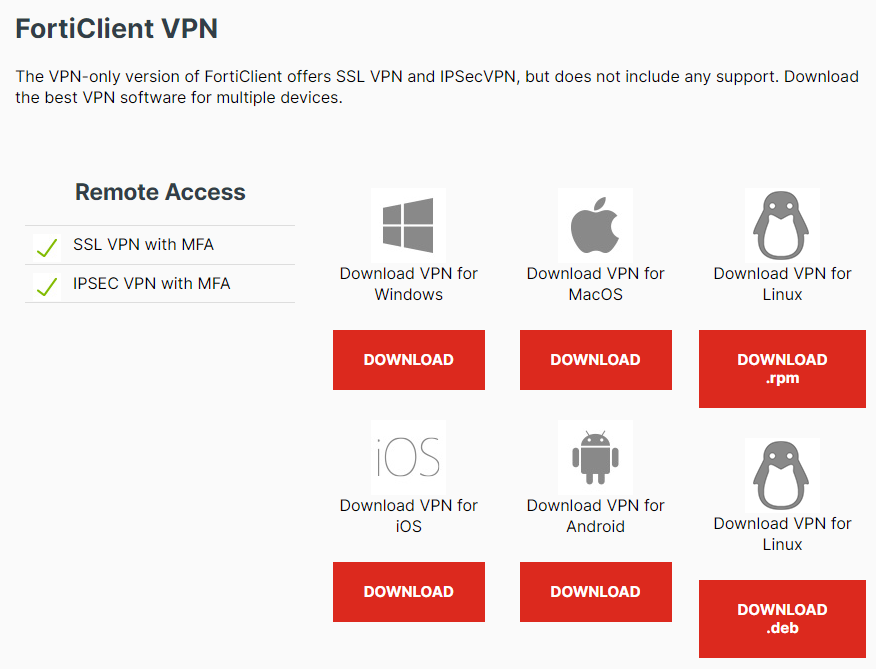
Figure 26: Selecting the FortiClient application by operating system
Once the agent is installed, its configuration screen will appear, where you can click “Configure VPN” to start configuring the SSL VPN:
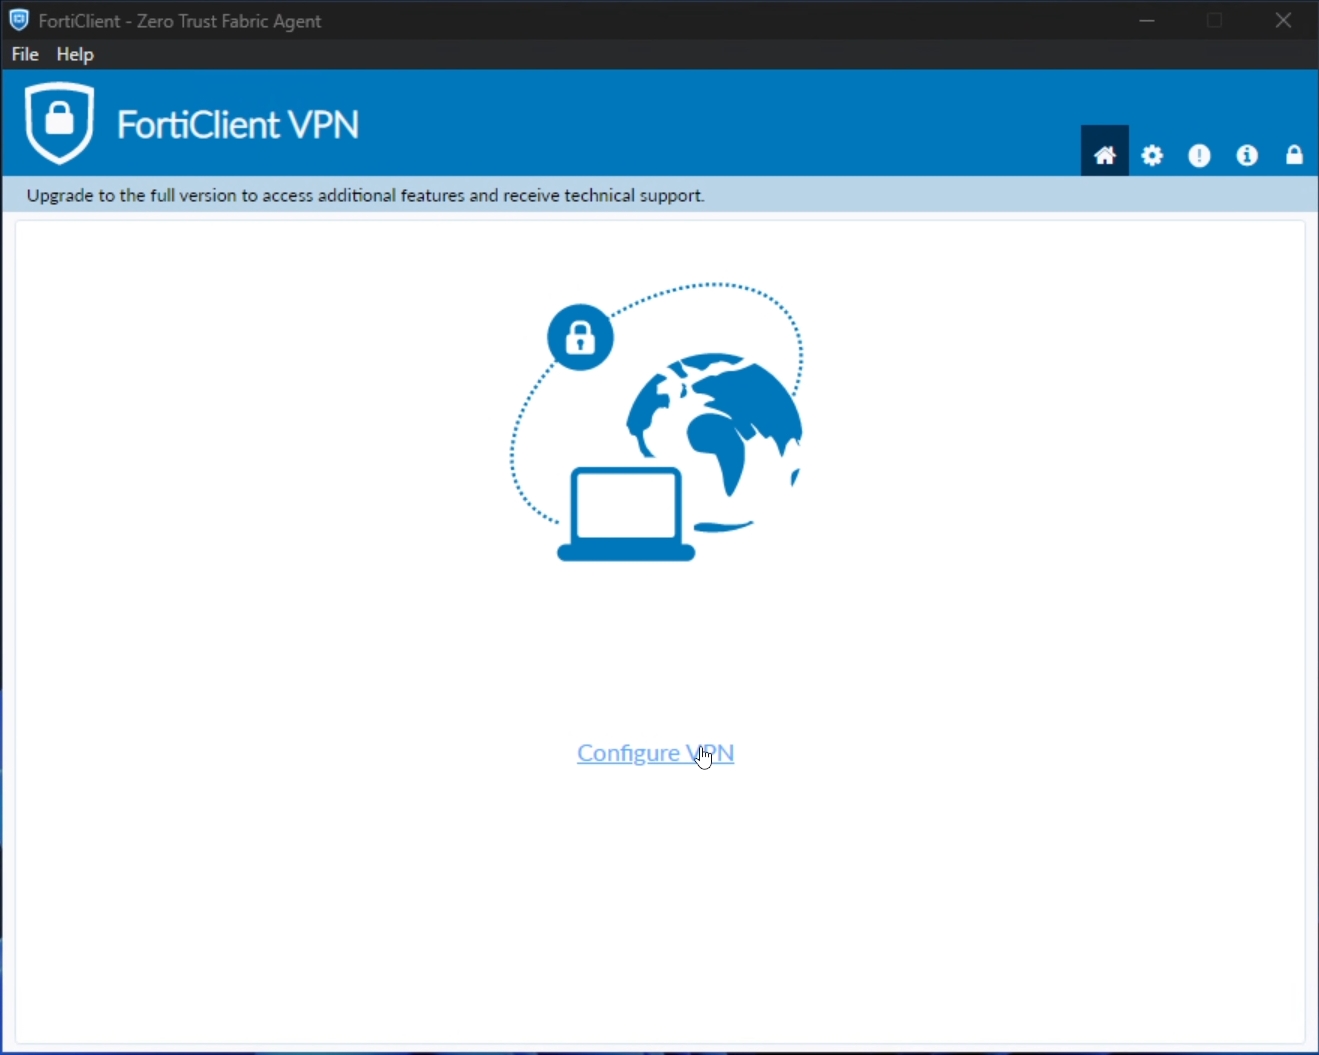
Figure 27: Starting the SSL VPN configuration via FortiClient
Once in the configuration tab, fill in as shown in the picture below, making the appropriate changes, then click “Save”:
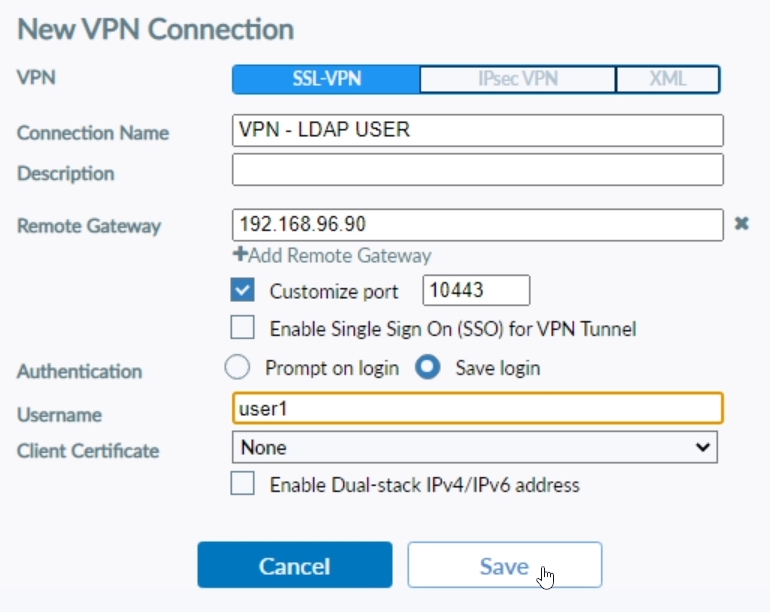
Figure 28: SSL VPN configuration on the FortiClient side
At this point you can test access to the VPN using the user’s username and password, in this case “user1”
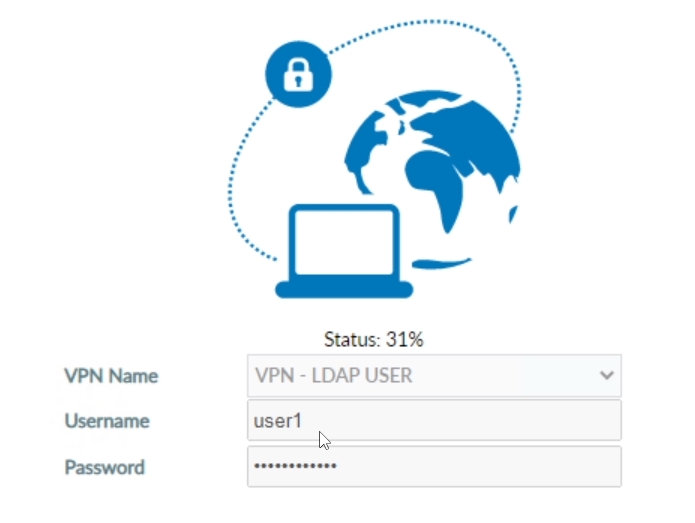
Figure 29: SSL VPN authentication in progress
Once connected, you can launch an RDP connection to verify that the VPN is working correctly:
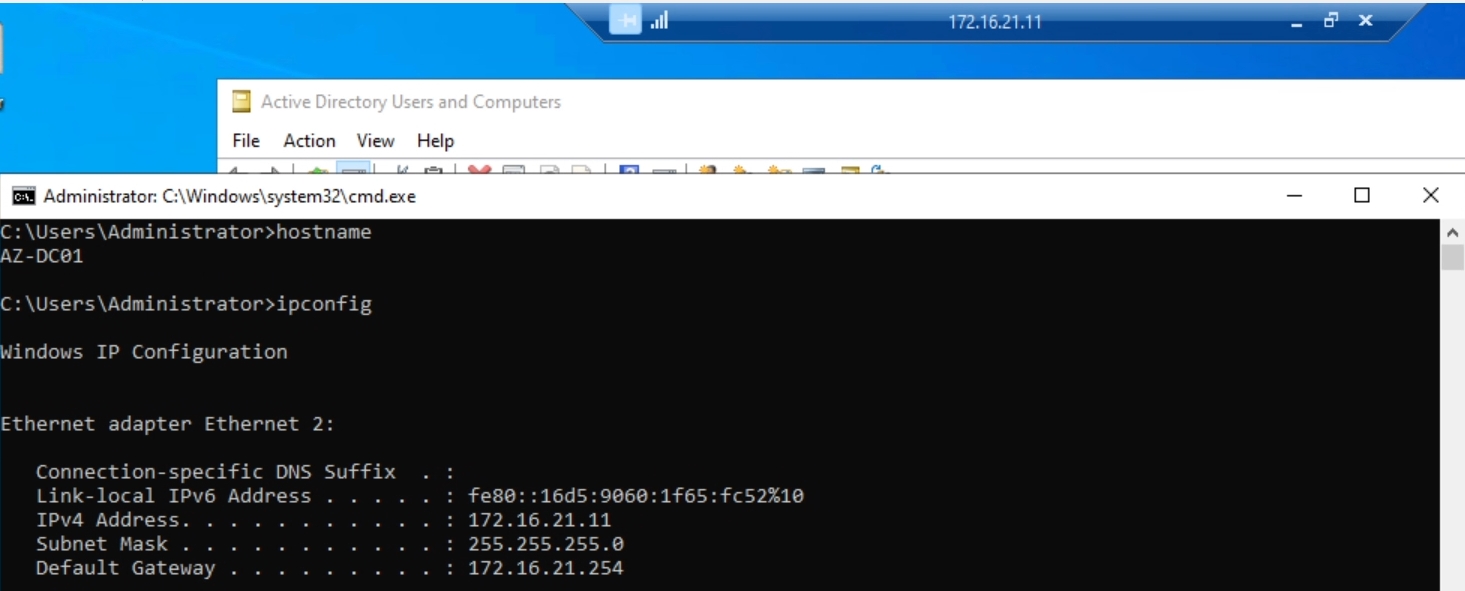
Figure 30: Testing the RDP connection via the FortiClient SSL VPN
Once logged in with the “user1” user, I reset the password for the “user2” user, so as to verify that the password reset via FortiClient works correctly:
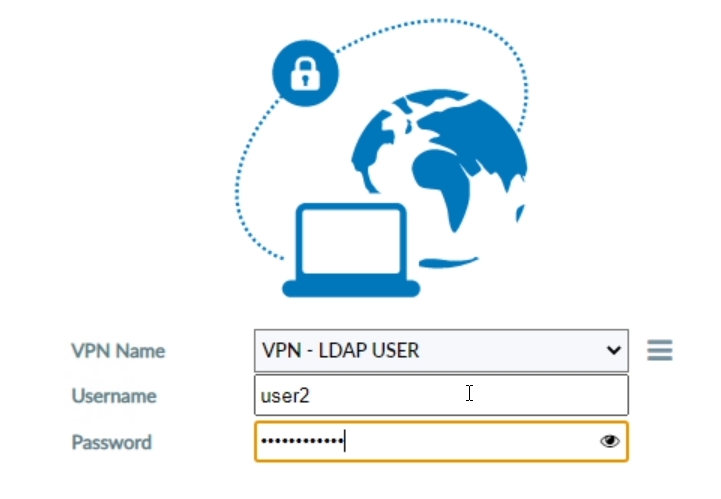
Figure 31: Switching users to verify password expiration with FortiClient
Once the old password has been entered, FortiClient will warn me that the password has expired and that it needs to be renewed:
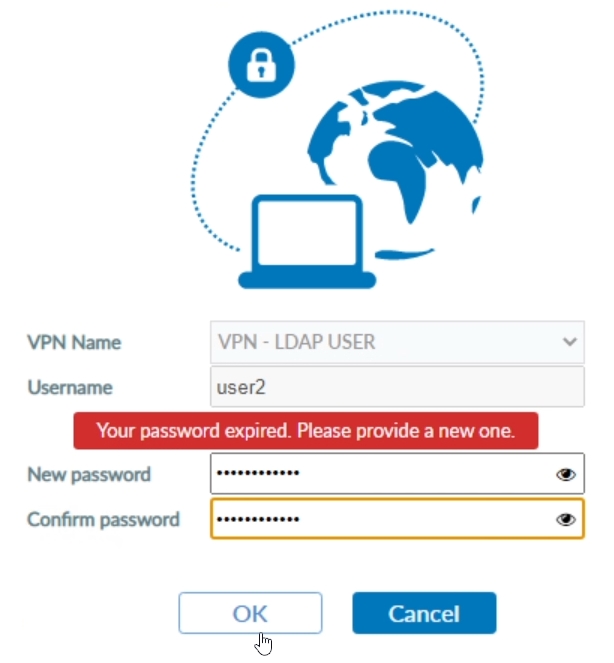
Figure 32: Renewing the Active Directory Password via FortiClient
Once you click “OK” we can verify that the connection is established correctly:
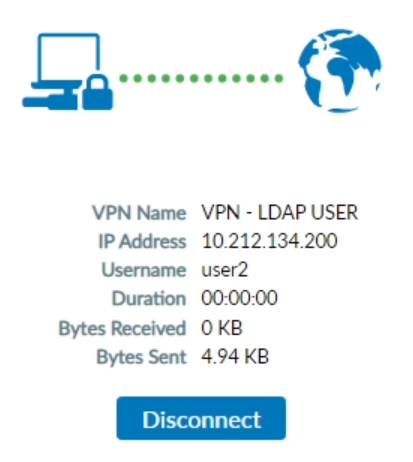
Figure 33: Result of the SSL VPN connection via FortiClient
As specified in a previous guide of mine on ICT Power, (LINK: https://www.ictpower.it/sicurezza/fortinet-configurazione-ldaps-server-integrato-in-active-directory.htm) the password change via FortiClient or Web VPN is possible thanks to the use of two fundamental parameters in the configuration of the LDAP server within the FortiGate:
-
set password-expiry-warning: When set to “enable”, displays a warning if the user’s password has expired. This warning is shown, for example, during FortiClient authentication or when logging in to the SSL VPN Web.
-
set password-renewal: When set to “enable”, allows the password to be reset directly when logging in to the FortiGate. For example, you can reset the password during login via FortiClient or when logging in to the SSL VPN Web.
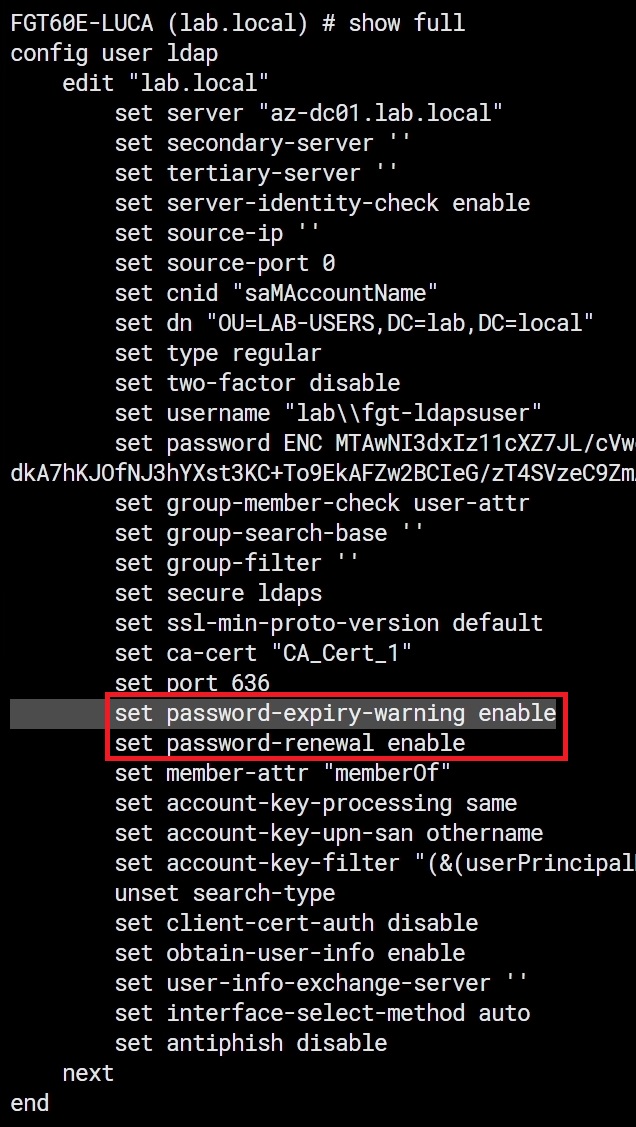
Figure 34: Detail of the configuration required on the FortiGate side to enable the password reset
WebMode VPN access
The FortiGate firewall allows you to enable, for all or only some of the users, the WEB mode for the SSL VPN. This particular version allows you to have a smaller risk surface when we have external consultants or suppliers connect.
You can access this mode by typing, in any supported web browser, the public IP or FQDN of your FortiGate with the port configured in the previous steps:
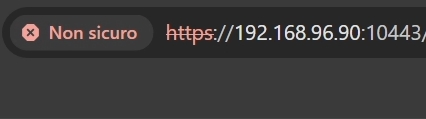
Figure 35: URL address of the FortiGate WEB VPN
Once at the login screen, you can enter, as done for the FortiClient VPN, the username with its password:
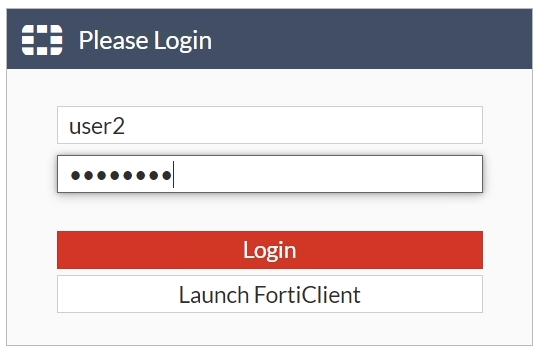
Figure 36: Entering the WEB VPN username and password
Previously, for the purposes of this guide, I had reset the password of the “user2” user, therefore, once the credentials have been entered, I am asked to reset the password again, this time in SSL VPN Web mode:
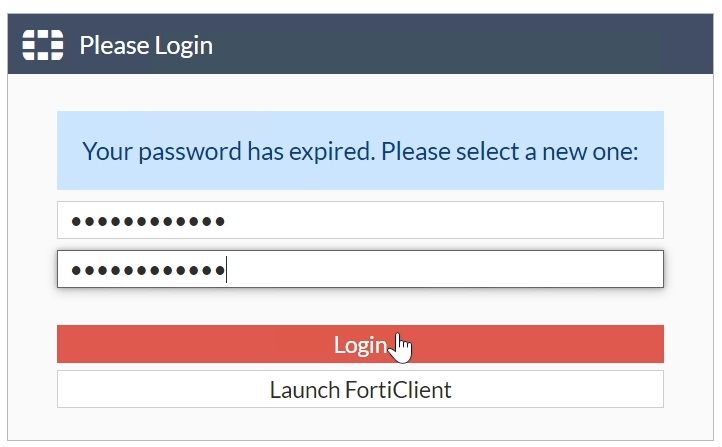
Figure 37: Resetting the Active Directory credentials in SSL VPN Web mode
Once you click “Login” you can access the main page, where you can click “New Bookmark” to create a new connection to a resource internal to the network:
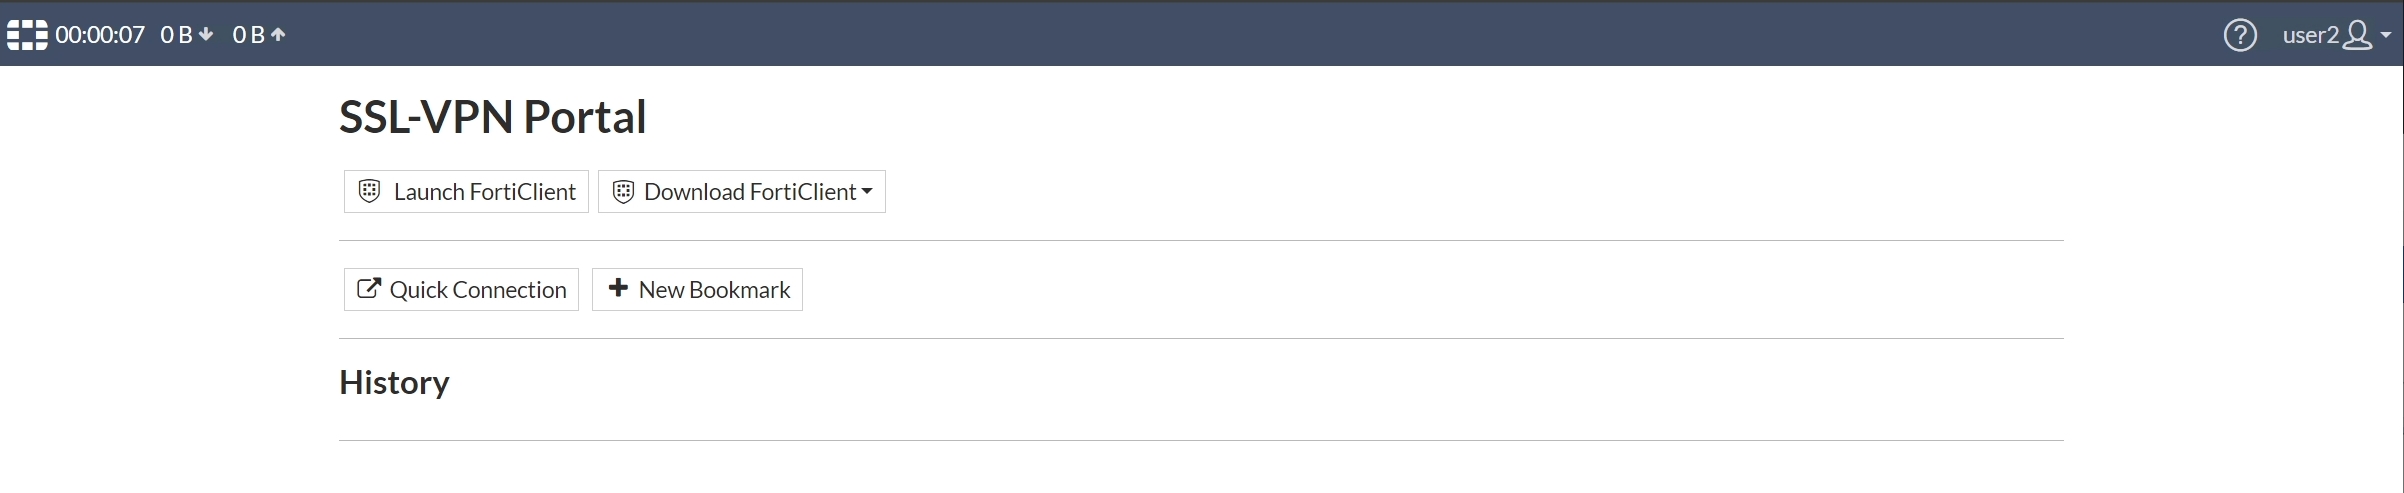
Figure 38: Main page of the SSL VPN Web
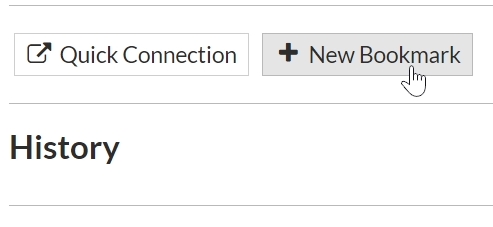
Figure 39: Creating a new Bookmark for access to internal resources
You can create any type of Bookmark, but for this guide I chose a classic RDP to the domain controller.
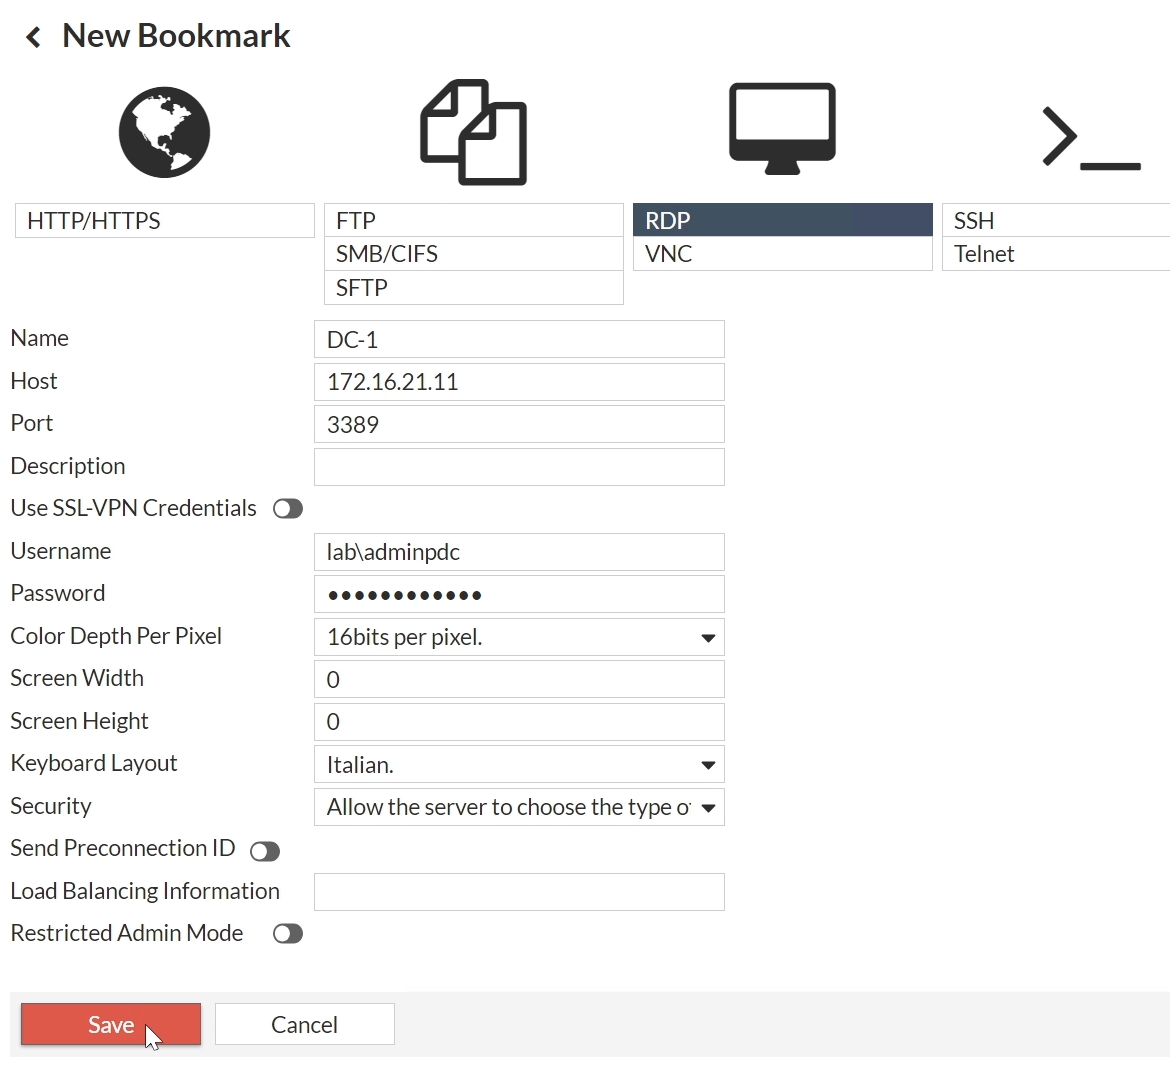
Figure 40: Filling in the fields required to connect to internal resources
When the configuration is complete, click “Save”, so as to obtain a new Bookmark that from now on will remain saved in your VPN profile:
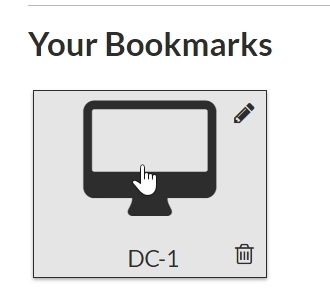
Figure 41: Bookmark for connecting to the Domain Controller via RDP
Now click the “DC-1” Bookmark:
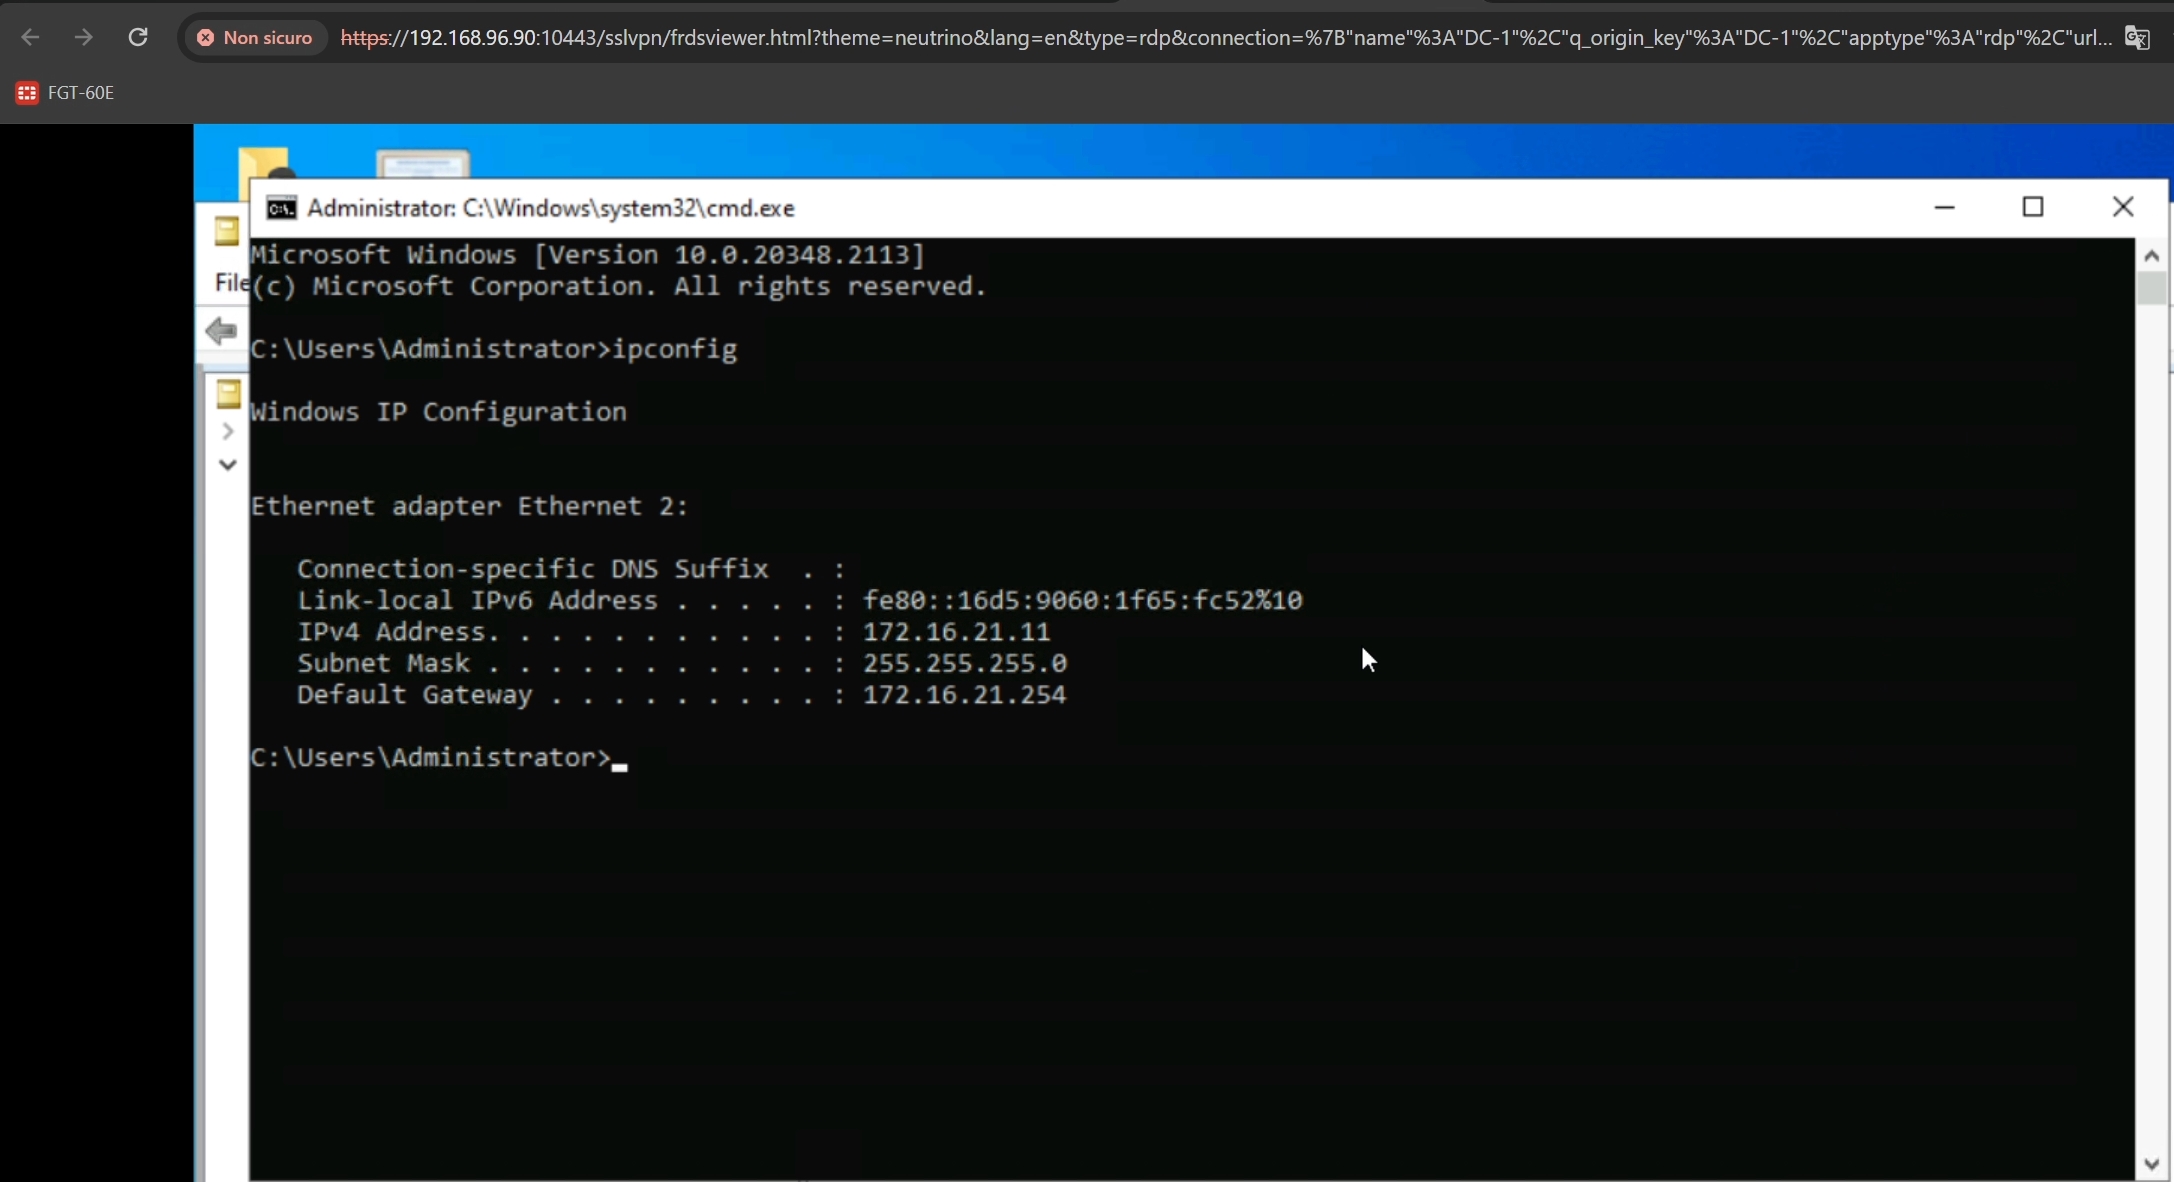
Figure 42: RDP session accessed from the SSL VPN Web
N.B. The SSL VPN Web requires far more resources than the FortiClient VPN. Some FortiGate models, especially the smaller ones such as the 40F, could struggle with a high number of connections of this type.
SSL VPN access with FortiToken
In today’s context it is unthinkable to leave an SSL VPN exposed with only username and password, so it is a good thing to start right away with a line of thinking dedicated to the multi-factor authentication (MFA) part.
Every FortiGate comes with two software tokens for MFA called FortiToken, which means you can cover two users right away and for free (all other tokens must be paid for separately).
The configuration is simple and really requires just a few steps.
Within the FortiGate (still the Root VDOM), in the left-hand column, click the “User & Authentication” tab and then “User Definition”:
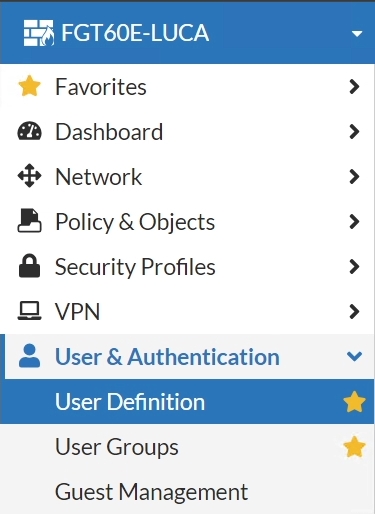
Figure 43: Tab dedicated to managing FortiGate users
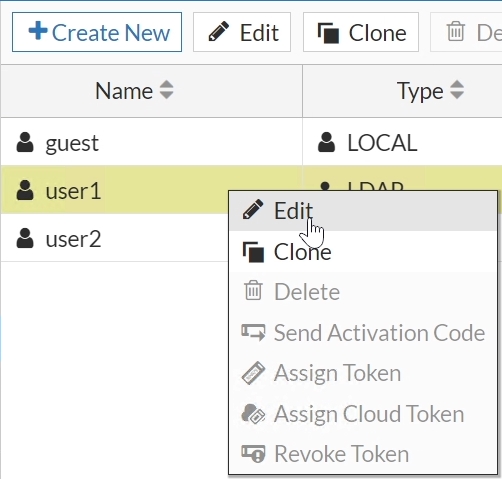
Right-click on one of the two users present within the FortiGate and previously imported from Active Directory, then “Edit”:
Click the “Two-factor Authentication” toggle:
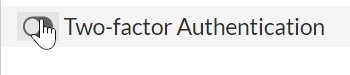
Figure 44: Enabling MFA
In the context menu that opens, click “FortiToken”, then select one of the two available:
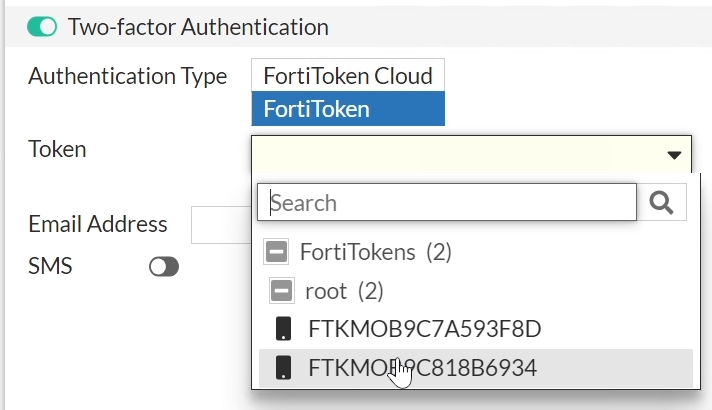
Figure 45: Selecting the FortiToken
Scrolling down, you can complete the token assignment with a registration email, so that the user receives the instructions for the configuration and the QR Code to add it to the FortiToken mobile application:
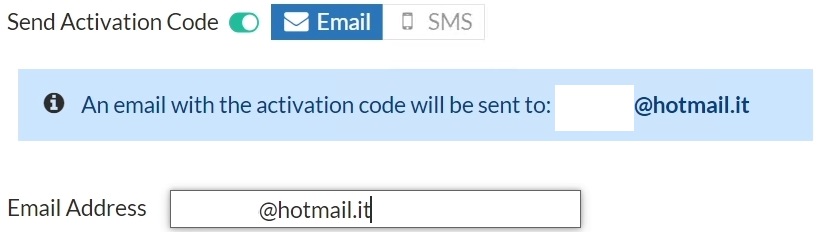
Figure 46: Entering the email to send the FortiToken configuration instructions
Click “OK” to complete the operation:

Figure 47: Click “OK” to complete the operation
Then accessing the email that we used during the configuration, you will be able to see a message like the one below, with a QR Code to scan with the FortiToken Mobile application, available in the main Apple and Google stores:
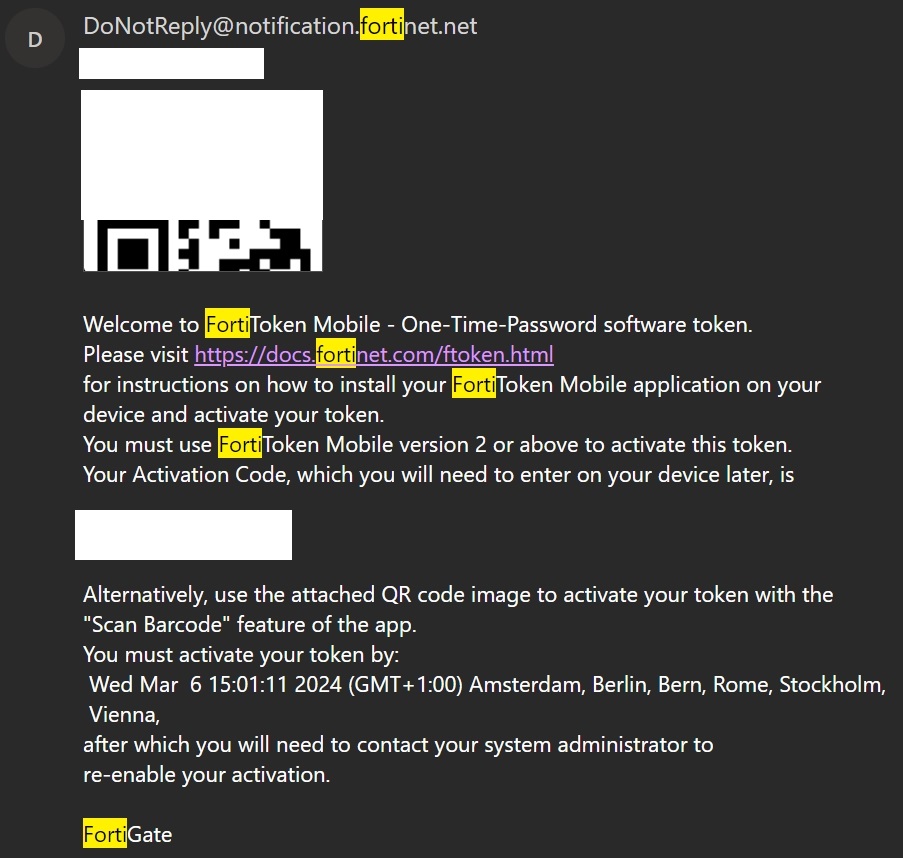
Figure 48: FortiToken activation email
Now download the “FortiToken Mobile” application from the main mobile stores:

Figure 49: FortiToken application present in the Apple Store
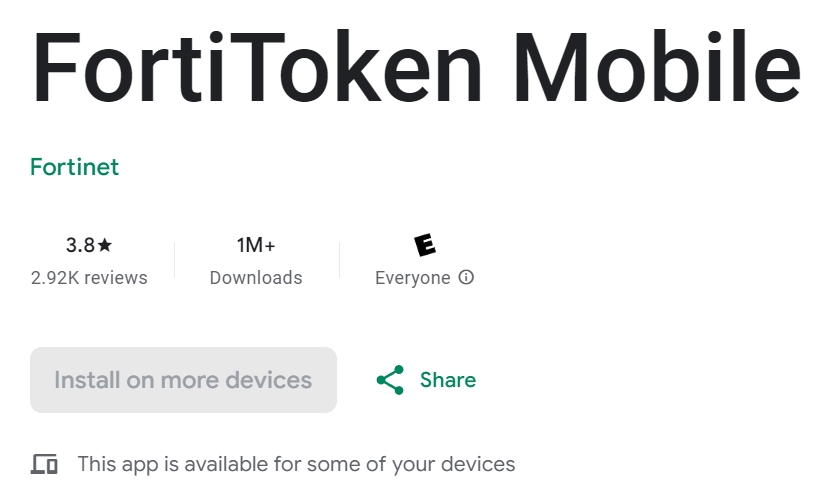
Figure 50: FortiToken application present on Google Play
Once installed on the phone or tablet, you can add a token with the ”+” button and then by scanning the QR present in the email above. Once the process is complete, the token with its random numbers will be shown directly in the application:
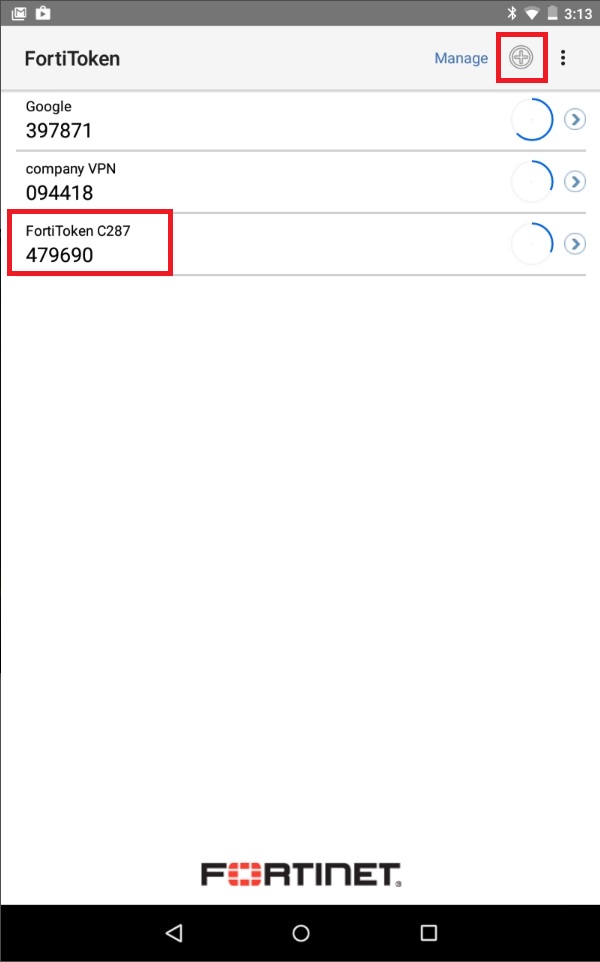
Figure 51: Detail of the FortiToken Mobile application
Once the application is ready, you can attempt a new login, either via FortiClient or via Web VPN, but this time, in addition to the username and password, we will be asked to type the numbers present in the FortiToken application:
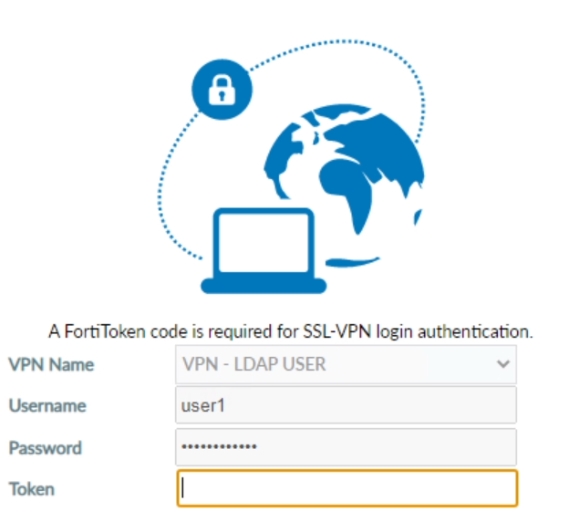
Figure 52: MFA request via FortiToken on FortiClient
Once the numbers have been entered, you can connect to the VPN with peace of mind, but this time with far greater security:
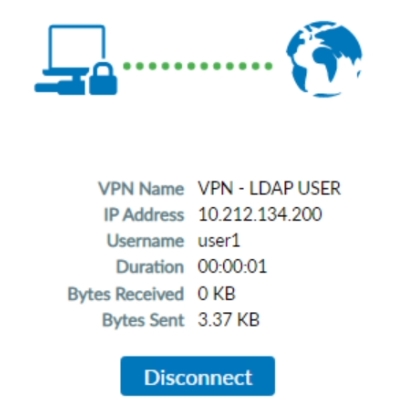
Figure 53: VPN connection established via FortiToken
Conclusions
A guide on VPN may seem out of date today, but there are still many companies that rely on this type of solution for their remote connections. FortiGate responds to this need with the greatest possible openness, allowing you to have not only authentication via Active Directory, but also adding MFA, which can be leveraged not only through Fortinet solutions, but for example with the use of Entra ID, governing VPN access via Conditional Access Policy.
As said in the previous article, when you choose a tool, you must always ask yourself the question that matters most, namely whether what I am buying will integrate 100% with my infrastructure context, otherwise we will have bought yet another object that needs a parallel infrastructure to work.